
The push-up is a foundational bodyweight exercise that everyone can benefit from doing. Besides being fundamental for building upper body strength, power, and size, the push-up also comes with a ton of great variations that can provide a lot of training benefits.
However, in order to perform some of the more advanced push-up variations, then the basic push-up needs to be an exercise and skill on lock. This means that a foundation of form and strength need to be built for the pushing muscles that are required to perform great push-ups.
In this article, we're going to provide you with a one-month program to tackle the push-up and bring you up to speed for performing multiple clean, consecutive reps.
Before diving into the program, we highly suggest checking out the push-up guide at the bottom of this article.
Before diving into program, we're going to cover two useful push-up progressions that everyone should understand, as they'll be used throughout the four week program. These two progressions will help build a foundation of strength and form to improve push-ups.
The first push-up progression is the single and double knee assisted push-up. For this push-up variation, you'll assume a traditional push-up position and place either one or both knees on the ground based on your strength and fitness level.
This variation is useful because it helps lighten the load that needs to be pushed and it's going to help us accumulate pressing volume throughout the four weeks.
The second progressions worth noting are the tempo and paused push-up. This modification will stem from the push-ups variation being performed and it will change the speed in which your execute the movement.
The goal of this program is for it to be implemented into your current training routine. The workouts are short and should either 1) supplement your current training days, or 2) be performed on off days as an active recovery session.
Rest Days and Equipment: This program works best if it's run with one day of rest in-between each workout day, so avoid performing them all back-to-back-to-back with four days of rest in-between sessions. Good frequency options include:
Also, this program includes no equipment so it can be used anytime anywhere.
Rest Times In-Between Sets: Try to take between 1-2 minutes of rest in-between sets. However, this can shortened or lengthened based on your energy levels and schedule. If you can shorten rest times and perform perfect reps, then feel free to do so!
Assisted Modifications: Scale your assisted push-ups by proficient reps. For example, if one week you perform two knees down and complete all of the reps, then switch to one knee for one, two, or all of the sets the following week. Use your strength and execution as a scale for the type of assistance used and needed.
Pre-Program: Perform as many normal push-ups as possible until form breaks down. No shame here. If it's 0, then we start there and build! Take a day of rest, then start on the 4-week program below.

After you've completed this program, take two days of rest and prepare for another test!
Post-Program: Perform as many reps as possible without form breakdown. How much did you improve?
There's more than meets the eye with the push-up. Hip alignment, hand and feet position, and so much more need to be accounted for to make the push-up as effective as possible.
To help clean up your form and to start working towards picture perfect push-ups, check out the step-by-step push-up guide below.
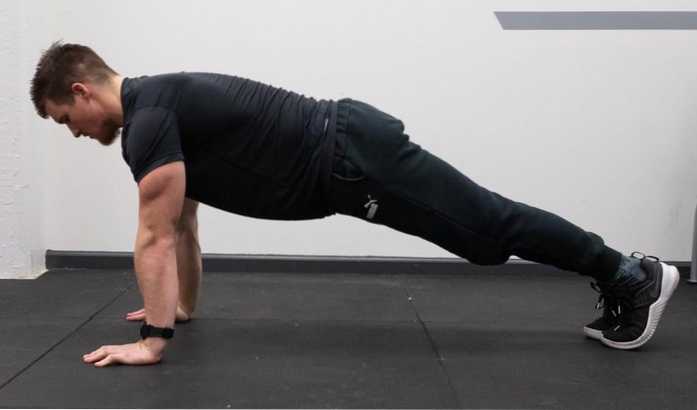
To perform the push-up, start at the top of the plank position with the back flat. The arms should be fully extended with the hands directly underneath the shoulder joint. The feet and thighs should be pressed actively together.
Often, beginners will place their hands too far forwards in front of them. Be sure to place the hands under the shoulder joint, maybe even slightly back towards your hips.
Coach's Tip: Assume a plank with the torso rigid and back flat. The head should remain in a neutral position.
While in the plank position, actively pull your shoulder blades together to create tension in the upper back. This will help stabilize the shoulder girdle and ensure proper stability in the lowering phase of the push-up.
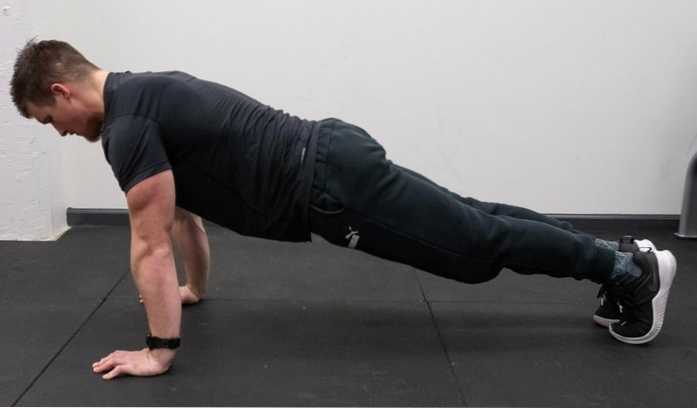
Set the back by pulling the shoulder blades towards the hips and extending the upper back. Be sure to not let the hips sag or lower back hyperextend while in this position.
Once you are set, think about pulling your elbows to the back, similar to a row position. This will help activate the upper back muscles and provide you with stability as you approach the bottom of the push-up.
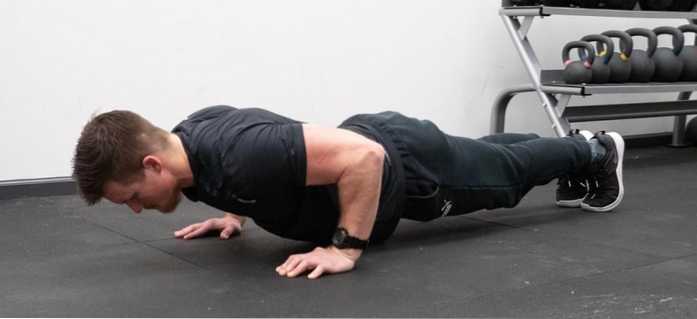
Do not let you head or shoulders slouch forwards towards the floor. Rather, think about pulling your sternum in between your hands.
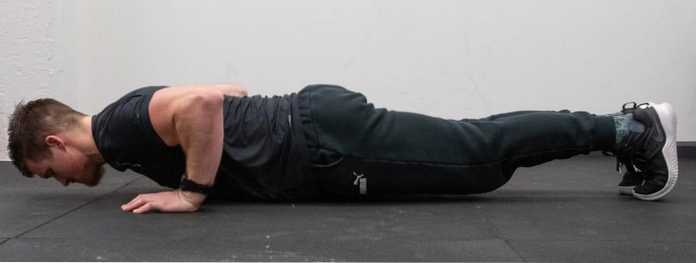
Coach's Tip: The thighs, hips, and chest should all make contact on the floor at the same time. If these are out of order or do not occur at the same time, this may suggest sagging of the hips and/or hyperextension in the lower back.
Once you have touched the floor, press yourself away and upwards by trying to reach your hands into the floor. By thinking about reaching, rather than pushing, you can reframe the movement to have the body find stability and strength from the upper back.
Push yourself away from the floor, and focus on keeping tension in the upper back.
Coach's Tip: Stay rigid in the torso and be sure to not let the hips sag in the upwards movement of the push-up.
The primary muscles involved in the push-up are the pectoralis major and triceps. There is also involvement with the core, upper back muscles, and serratus anterior throughout the push-up.
It depends on your goals, but the push-up is a viable exercise for matching bench press adaptations when intensity and volume are accounted for. Like every exercise, there needs to a form of progressive overload that is dictated by the adaptation (power, mass, strength, etc.) when using the push-up.
One of the better no equipment push-up progressions is the assisted push-up. This push-up variation will entail placing one or both knees on the ground to decrease total weight pressed in this exercise.
Yes! The push-up will strengthen the triceps and likely cause some hypertrophy with this muscle group. Since the triceps make up roughly 2/3 of the arm, then there will likely be some arm size increase.
The push-up trains the body with horizontal pressing, so it will increase strength and mass with the muscles and body parts involved in this movement pattern.
If you tackle this program and improve your push-ups, let us know you did in the comments below. Also, let us know how you added this program into your current training and provide feedback about what worked and what didn't.
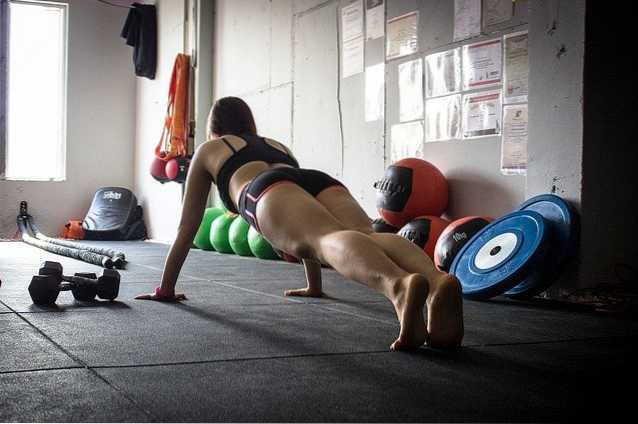
Feature image from Flamingo Images / Shutterstock


Nimeni nu a comentat acest articol încă.